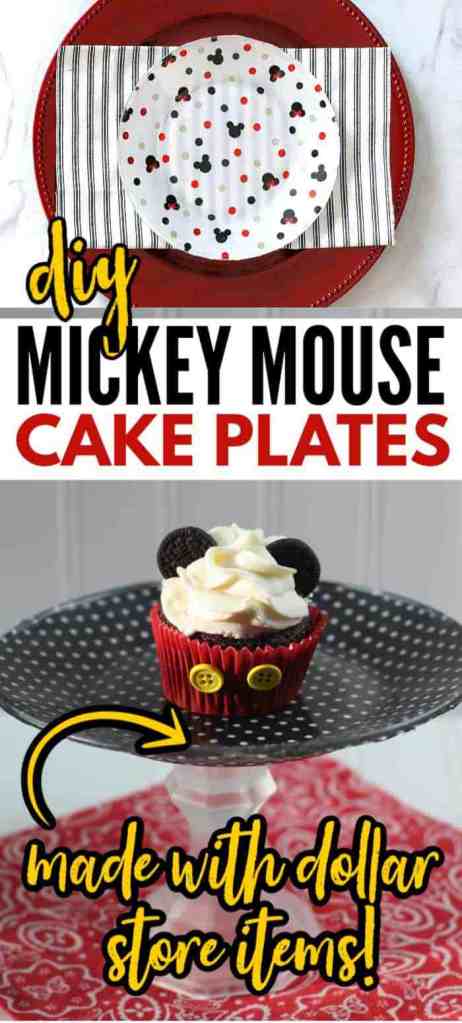
These DIY Mickey Mouse Cake Plates are super easy to make and are perfect for serving up your favorite Mickey Mouse treats!
Where are all my Disney fans?
If you’re a Disney fan, you know that when you’ve been bitten by the Disney bug, there is no such thing as too much Disney.
So, whether you’re a Disney fan or just throwing a party for someone else who loves Disney, trust me — you’re going to want to included little splashes of Disney all over the place.
Now, you can definitely go nuts buying up all things Disney. But if you’d rather save your dollars for an actual trip to Disney, you can still throw an awesome Disney bash on a budget.
That’s why these DIY Mickey Mouse Cake Plates are such a great idea. Quickly transform dollar store plates into an adorable Disney-themed serving platter.
How to Make Mickey Mouse Cake Plates
You don’t need a Master’s degree in crafting to create these adorable cake platters — just a few items and a little time.
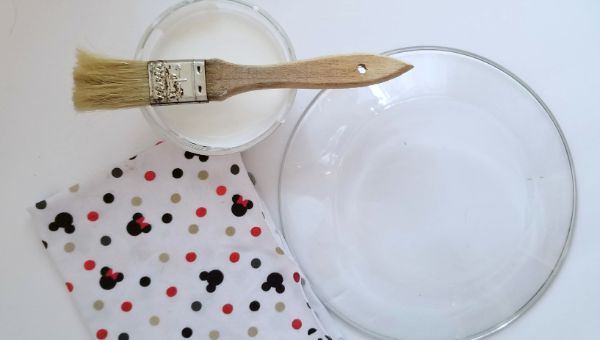
Materials Needed
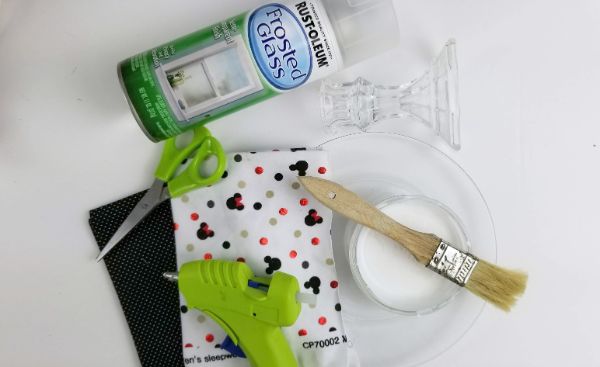
These cake plates are made from three simple materials:
- Cotton fabric (you’ll need about 1/4 yard — Disney themed of course!)
- One clear plate (you should be able to find these at your local dollar store)
- One candlestick (again, check your local dollar store)
In addition, you’ll need a few craft supplies:
- Mod podge
- Paint brush
- Scissors
- Spray paint
- Glue gun
Directions
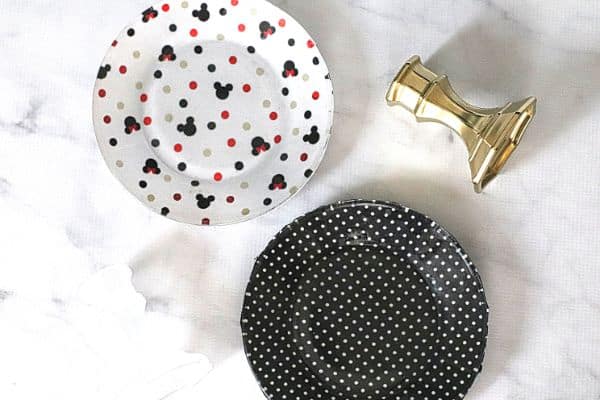
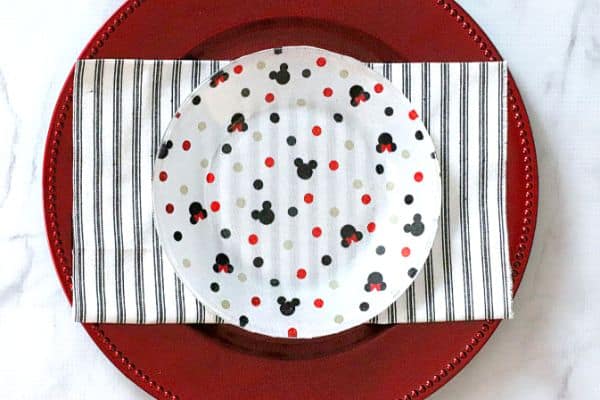
The first thing we need to do is paint the back of the plate (the side that you’d set on the table, not the side that you’d place food on) with mod podge.
While the mod podge is still wet, smooth the fabric over the plate. The patterned side should be against the plate.
If you missed any spots with the mod podge, simply lift the fabric and paint on more mod podge.
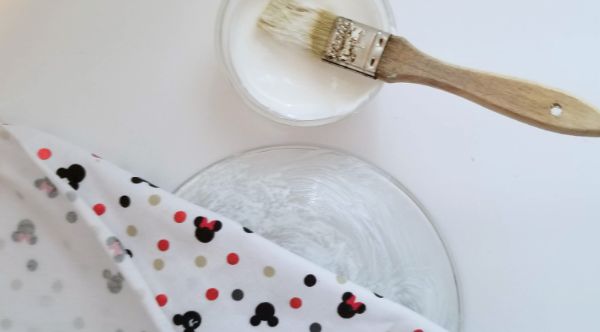
Make sure you smooth out any bubbles. Then set the plate aside and let it dry.
It will take 15 to 20 minutes for the mod podge to dry. If you want to speed up the process, use a blow dryer set on low heat and blow warm air over the fabric.
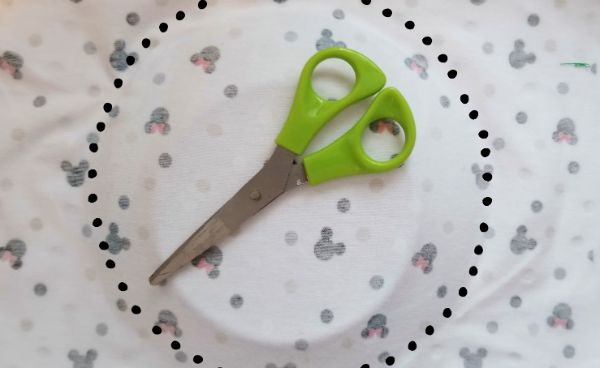
Once the mod podge is completely dry, use your scissors to cut off the fabric around the plate.
Now, we’re going to apply another layer of mod podge to the fabric. Again, make sure the fabric is smooth.
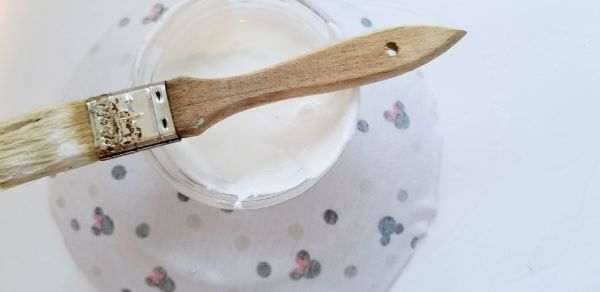
This time, we’re going to let the plate dry for 24 hours.
While the plate is drying, let’s get started on the pedestal. Use the spray paint to cover the candle stick in paint.
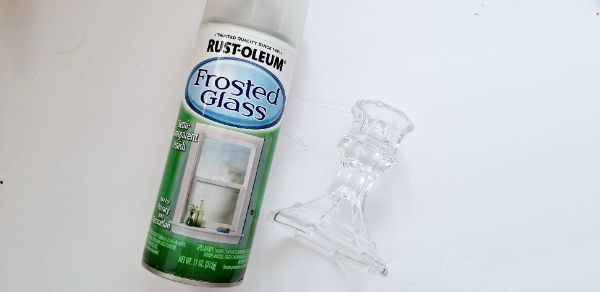
If one layer doesn’t do the trick, apply a second coat once the first coat dries.
Let the candlestick dry overnight.
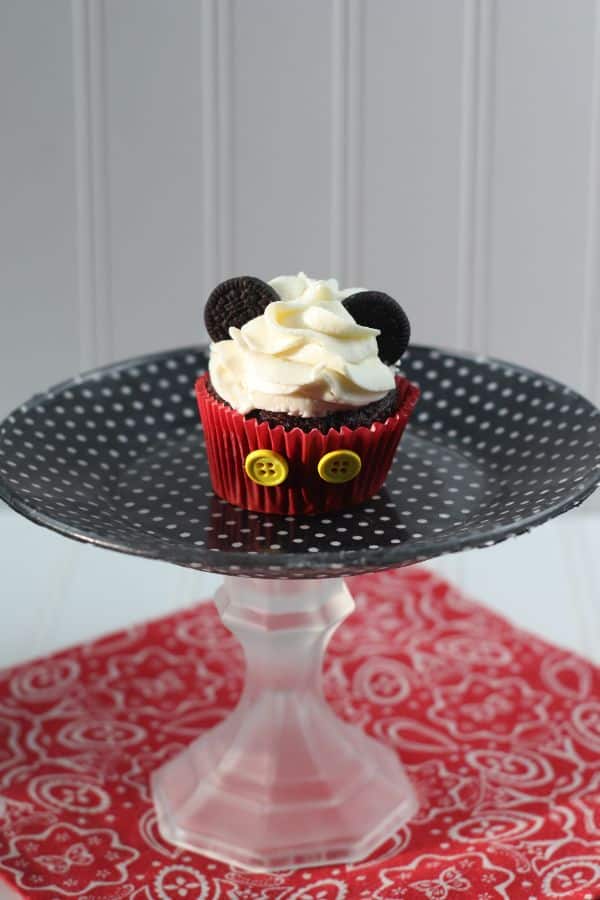
When the mod podged plate and painted candlestick are fully dried, use a hot glue gun to attach the candlestick to the bottom of the plate, making sure to center it.
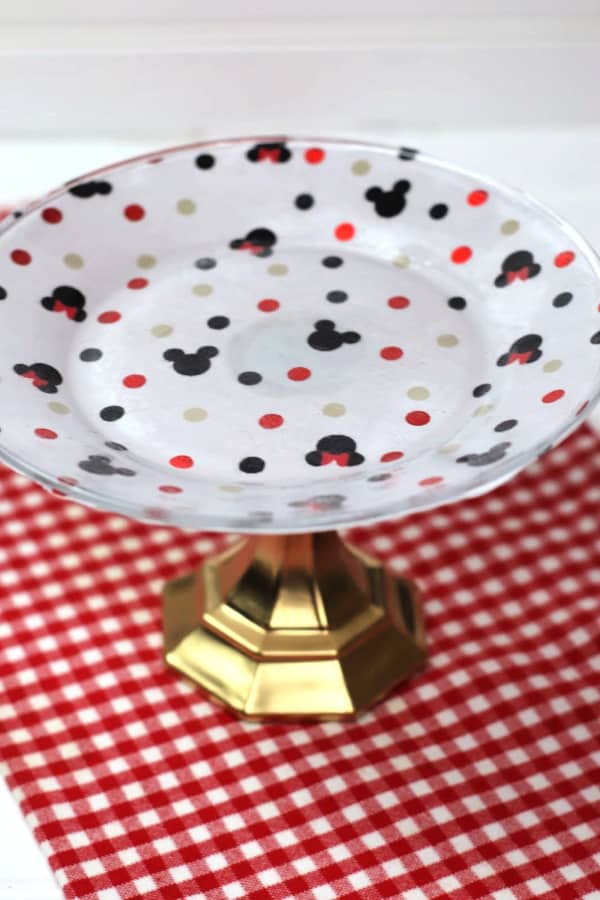
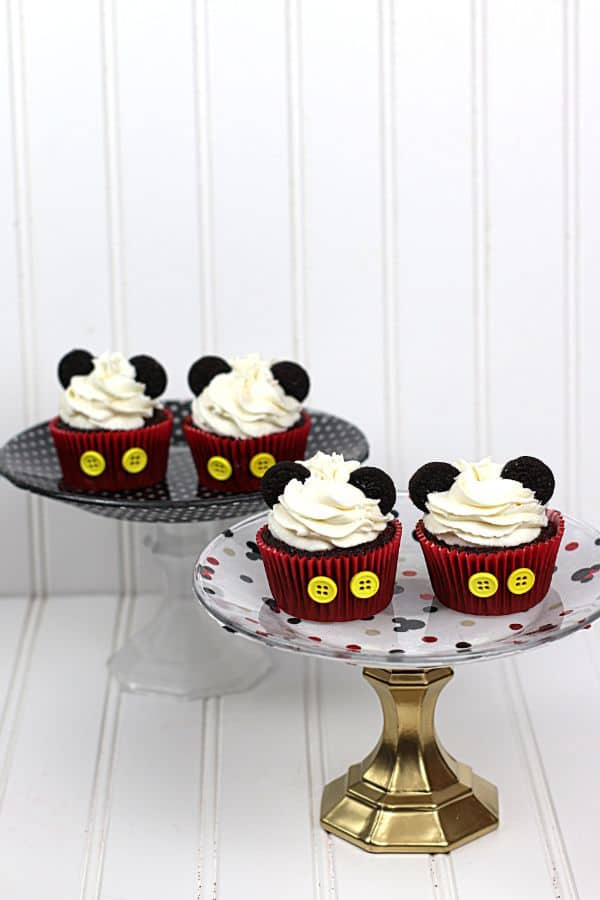
Once the glue sets, your Mickey Mouse Cake Plate will be ready to use. Top with one (or more) Mickey Mouse cupcakes (or other treat) and set out for your guests to enjoy.
DIY Mickey Mouse Cake Plates
Equipment
- Paint brush
- Scissors
- Glue gun
Materials
- 1/4 yard cotton fabric
- 1 clear plate
- 1 candlestick
- mod podge
- spray paint
Instructions
- Paint the back (bottom side) of the plate with mod podge.
- Immediately smooth the fabric over the plate onto the mod podge with the patterned side against the plate. Press the fabric into the plate, working to smooth out any bubbles.
- Let mod podge dry completely.
- Using scissors, cut off the fabric that extends beyond the edge of the plate.
- Paint another layer of mod podge onto the fabric. Put plate in a place where it can dry for 24 hours.
- Cover the candlestick with spray paint in the color of your choice. Wait for the paint to dry before applying a second coat (if needed). Set aside candlestick to dry completely.
- When both the mod podged plate and painted candlestick are dry, use a hot glue gun to attach the candlestick to the center of the bottom of the plate.
- Wait for glue to dry. Once dried, your cake plate is ready to use!
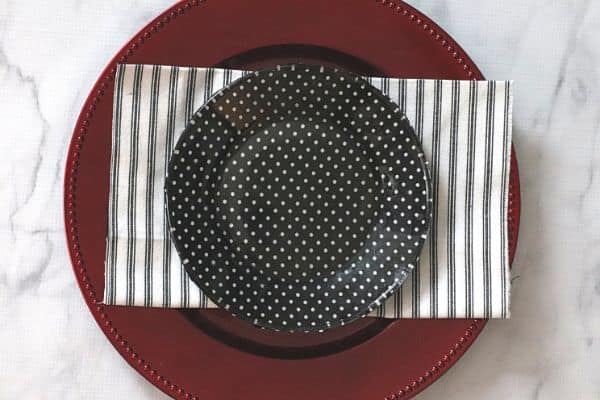
Mickey Mouse Plate
Of course, you can leave off the candlestick pedestal and just create a set of Mickey Mouse plates for a Disney-themed dinner!
Follow all the steps for the DIY Mickey Mouse Cake plate but don’t buy, paint, and attach the candlestick.
Need to run to the Dollar Store first? Don’t forget to pin this so you can find the directions when you get back!